My finished music video:

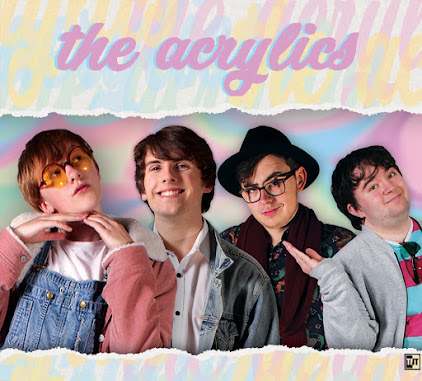
My front digipak panel:

My front digipak panel:
Right-click the image and open it in a new tab for a bigger version.

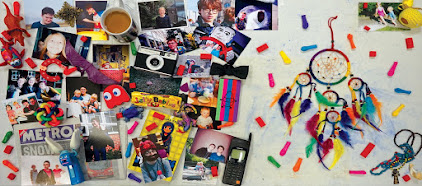
My inside digipak panels:

My inside digipak panels:
Right-click the image and open it in a new tab for a bigger version.

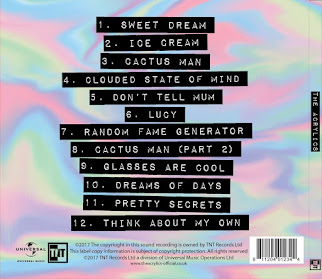
My back digipak panel (with album spine:)

My back digipak panel (with album spine:)
Right-click the image and open it in a new tab for a bigger version.

Click the image below to open my website in a new tab:

Thursday, 2 February 2017

R+P Post 15: Our filming location, set design and props

Our chosen filming location is my garage. We chose it because it is a very plain room once all the items stored in it are removed, and lighting is easily manipulated as there are no windows. Thus we were able to build the exact mise-en-scène we want, as described in earlier posts, and create a believable interrogation room.

A basic floor plan of the garage after it was turned into our set. It also shows where the miscellaneous items were moved to so that they were out of the way, where the entrance and exit door is in relation to the main set (both in real life and in our video,) the garage door, which we had to work around as we couldn't move it but also couldn't allow it to be seen in any shot, and a few other things. Click to enlarge.

The area on the right of the garage after walking in. This picture was taken during the search for a suitable location, and shows the exact area we eventually used to create our set while it is still full of the items being stored there. Click to enlarge.

We couldn't find any better alternatives so we worked out what we would need to do (as well as the basic items we would need) to turn the above picture into a working set.
After the basic layout of the room was decided, we put together a set and props list and worked on the details of the room, such as where the lightbulb should be (hanging directly above the table,) what we could add to the table to add to the mise-en-scene (such as the audio recorder,) and so on.
One page from our Set, Props, and Location List. It keeps all the information about the aforementioned things in one place, in an easy-to-use table. Click to enlarge.
We ended up with a final dressed set that was representative of the image we saw in our heads. We tried a few different kinds of lighting to compliment it, including various set-ups using the large lighting kit, before eventually deciding that using the lightbulb by itself would produce the desired lighting most effectively. This was because we wanted light to be coming from only one source in the film, so we made it come from only one source in real life to best achieve this.
The final version of the dressed set. Earlier versions had the clock in the centre and the audio recorder lying flat, as well as a larger table. We moved the clock to spread the props out, raised the audio recorder to ensure the audience knew what it was, and the smaller table made shooting easier as we could get closer to the actors. Click to enlarge.
We learned how to work with a location's limitations to create a good set. Working around problems, such as keeping background items out of shot to not ruin continuity, was quite important, was one such limitation. Between the test and main shoots we changed a couple of item locations to further refine the set and create better mise-en-scene, but overall the set remained mostly unchanged and very effective throughout the project.
No comments:

Post a Comment