My finished music video:

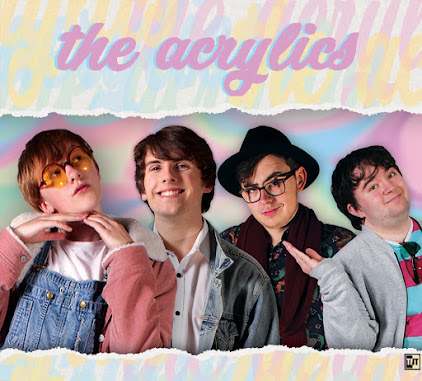
My front digipak panel:

My front digipak panel:
Right-click the image and open it in a new tab for a bigger version.

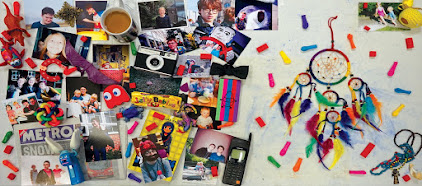
My inside digipak panels:

My inside digipak panels:
Right-click the image and open it in a new tab for a bigger version.

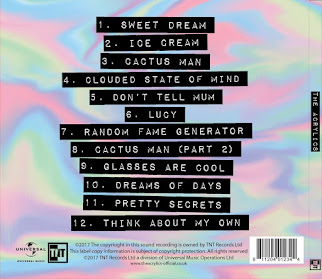
My back digipak panel (with album spine:)

My back digipak panel (with album spine:)
Right-click the image and open it in a new tab for a bigger version.

Click the image below to open my website in a new tab:

Thursday, 2 February 2017

R+P Post 18: Our test shoot

The reason we decided to do a test shoot was to give us a perfect representation of what our final product could be and what we had to do to create it. The previous interpretations of the opening really helped, but not even the Animatic could match a full, 1:1 test video when it came to finding flaws and so on.

To start, we created a shootboard. This was effectively our plan for the shoot day, including precise timings for each shot, as well as what actors and props were required, who would be doing what, what kind of camera movements were needed, and more. This meant we had everything we needed in one set of sheets, and it was all in an efficient order too- shots with the same camera position followed each other, actors got all their shots done in one burst, and so on.
Page 3 of our test shootboard. You may recognise the stickynote shots from the earlier storyboard post- the natural progression was to use the quick information system of the storyboard in the shootboard to save time. However, the shootboard expands on the storyboard further by including the time and date of the shot, as well as the location, and also names the props, characters, shot type etc. in full, so you don't have to rely on just the stickynote anymore. Click to enlarge.
The shootboard was incredibly helpful for organising us on the day. We learnt that we needed the organisation as we got further and further into the filming and all got tired- having a guide really helped combat any confusion caused by the constant struggle to get everything done in time. The only thing we decided to change was actually a mistake- in the test shootboard, we missed out a couple of shots and had to put them at the end of the shootboard rather than where they were supposed to go. Having to jump to the end of the document at a point not specified on any sheet defeated the purpose of the shootboard somewhat, so we are now all keen to avoid that in future shootboards.

As for the shoot itself, we decided to split the work between us. This is reflected in the shootboard, where we all take directing, camera, and acting roles wherever possible. This was to ensure we all got a chance to work on different parts of the project as well as make sure none of us were doing the same thing for too long, to keep us focused.
A picture taken during the test shoot, showing Jack acting, Sayo directing with the clapperboard, and myself on camera. Click to enlarge.
By the end, we learnt that we were all sufficiently adept at each job to perform adequately. We ended up with quite a few good shots, such as the shot we took through an actor's arm to create a frame-within-a-frame. This created a nice effect, and kept the scene dynamic, like we wanted.
A GIF of the aforementioned frame-within-a-frame shot from the test video. It created quite a nice effect and will likely remain unchanged for the main shoot.
However, we found that some shots didn't work as well. Often, camera movement wasn't great, although that isn't a problem with the shots themselves- for example, in the shot where the camera tilts up to reveal the Detective, the movement is smooth. The problem with this shot is that the other actor is delivering a line yet his face is barely visible for the entirety of the shot. In this same shot, a script is visible at the very beginning, which is just a pure mistake.
A GIF of the previously mentioned tilt-up shot, in which the actor in the foreground is delivering a line, but his face is pointing away from the camera the whole time. Otherwise the shot and its movement is quite nice- however we must ensure that actor's faces are visible whenever possible. Also note the script on the floor at the very beginning- simple careless errors like this will also be rectified.
We decided to work on any errors, such as the aforementioned camera movements, as well as re-do certain shots, such as the tilting-up shot, which we will replace with shot-reverse-shot while the line is being given. We will keep the tilt for its effect, but we will ensure the actor giving the line is always visible- this goes for the rest of the shots too.
No comments:

Post a Comment