My finished music video:

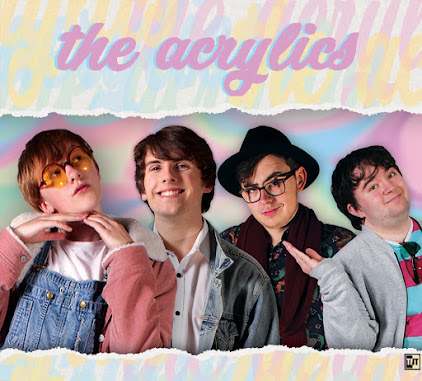
My front digipak panel:

My front digipak panel:
Right-click the image and open it in a new tab for a bigger version.

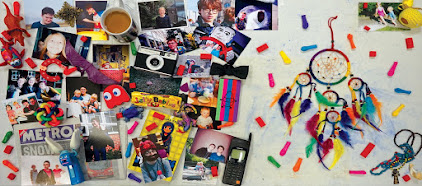
My inside digipak panels:

My inside digipak panels:
Right-click the image and open it in a new tab for a bigger version.

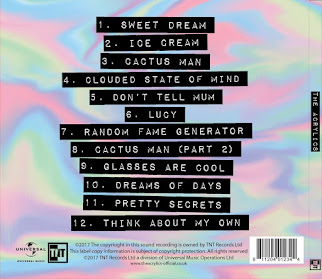
My back digipak panel (with album spine:)

My back digipak panel (with album spine:)
Right-click the image and open it in a new tab for a bigger version.

Click the image below to open my website in a new tab:

Sunday, 26 November 2017

R+P Post 21: My key shots storyboard

Following on from the timeline, we decided to create a storyboard. Whereas the timeline was the first version of our ideas consolidated onto one sheet, with a focus on the overall structure of the video with as much detail as we could fit, the storyboard had more of a focus on the shots themselves. The timeline described each shot briefly with text- the storyboard has actual images of each shot, with the framing, composition, and other useful and/or essential information available at a glance. To allow for this level of detail and aid in our organisation, we ended up dividing the storyboard into sections across two A3 sheets instead of just one as with the timeline, but this hasn't negatively impacted us too much as each sheet is laid out simply and both sheets are stored together; the pros outweigh the cons.
The first page of our storyboard. As with the timeline, I will provide closer photos where relevant, but this overview should serve to show that we have organised the sheets into sections to aid readability, while including all the shots individually with a key to help in getting information at a glance. Click to enlarge.
The second page of the storyboard. The second set of sections were spread out equally like the first, aiding our organisational efforts. The sticky notes themselves are easy to read, and having them separated into sections is good for preserving this readability. Click to enlarge.
We divided the storyboard into set-ups. We knew we would have a lot of different kinds of shots of the band, so we gave the band a set-up, and we knew we would have a narrative section for each of the four pieces of classic media we incorporated into the video, as well as a section for the lead singer falling asleep and waking up in her home, so we gave each of those a set-up too. In this way we could see every single shot, camera position, etc. we would need for each section (as each set-up will take place in a different location within the video, and thus each will have their own set, lighting, mise-en-scene etc.) as well as which sections will take us longer to film as they have more shots. The shots themselves have fairly detailed drawings of what is taking place, showing the framing and composition as well as the actors and props needed to some extent. The colour of the sticky notes corresponds to a key, which further aids how much information can be gleaned from one look at a shot.
An example of one of the sections on the storyboard- this one is for the "Mortal Kombat" video game set-up. You can see all of the different shot types and framings we will need, as well as the costume of certain characters, and even the 'fight sign' prop. Text descriptions aid understanding of what is happening in each shot- one even has an editing note as that shot will probably take place in slow motion. Click to enlarge.
The storyboard key- yet another tool for gaining information quickly, easily, and efficiently from the storyboard, which is what it is designed for. Click to enlarge.

No comments:

Post a Comment